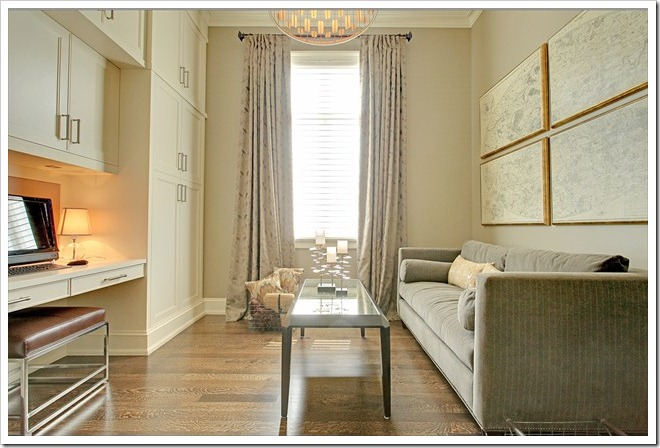
DIY Hardwood Floor Refinishing
One of the DIY projects you might not have tackled yet is refinishing hardwood floors. The process is messy and lengthy, but the rewards of doing this yourself can be fulfilling.
It doesn't have to be difficult. Consider some important points beforehand; ensure you have sought expert advice on your stain preference, you have purchased or rented the right tools and you’re completely comfortable with tackling the project. Here’s the ‘how to’ for the project:
Prepare Your Work Area
Sanding wooden floors creates an incredible amount of dust. It will get everywhere. Move all items of furniture that you can out of the room, and cover anything that has to stay put with heavy dust sheets. Close off the room you will be sanding in by taping any doors out of the room with masking tape.
Assess the Boards
Do a thorough check of all the boards and if any are damaged or rotten, replace and repair them before you start sanding. Any loose boards need screwing down. Use joists as a guide to nailing them down. Make sure any screw heads are 2mm below the surface or they’ll catch on the sander, and later on, on people’s feet.
Gap can be filled by shifting boards along and filling the space near the wall. If this doesn’t seem possible, you can glue slivers of timber into the gaps and hammer them into place. Any superficial knocks can be disguised with wood filler.
Ready to Sand
Use the floor sander in a diagonal direction across the room. Depending on the condition of the boards, you can start with medium grade or coarse grade sanding sheets. Avoid ruts forming by keeping the sander moving along.
Then criss-cross in the opposite direction. As you work through the layers of grease and grime, switch to finer grades of paper, following the direction of the boards. The last sand should be with the finest grade paper.
To sand the edges, a round edging sander will be necessary. Any dirt stuck in corners can be removed with a chisel.
Finishing
You’ll need to vacuum up the dust – this will take several attempts. Wipe all surfaces sanded with a cloth that is damp with white spirit – this helps pick up any traces of dust. Don’t wear shoes as this will help protect the unsealed floor.
To keep the new look floor looking great, you need to seal it with varnish or paint. Apply at least two coats of varnish, following the drying times and instructions on the tin.
Leave the room empty for at least 24 hours after the final coat and drying time has passed before placing any heavy items like a leather sofa or display cabinet on the floor.

Ready to handle your own DIY hardwood floor refinishing project?


Comments